Substrate: Unreal Engine's New Material System Explained
By Lunar Lizard
When Unreal Engine 5.7 shipped, Substrate quietly crossed one of the most important milestones in engine history: it graduated from experimental to production-ready and became the default material system for all new projects. If you’ve been putting off learning it, that grace period is over. Here’s everything you need to know.
Note on naming: You may see it called Strata in older threads - Epic renamed it to Substrate during early access. Same system, same team, different label.
What Is Substrate?
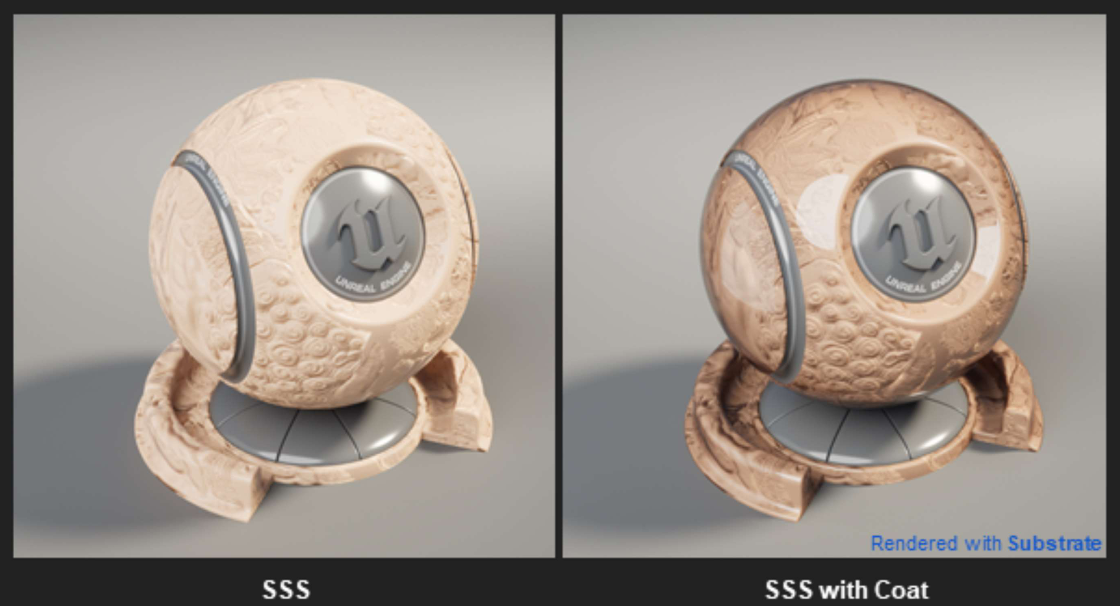
Substrate is Unreal Engine’s next-generation material authoring framework. It replaces the old fixed shading model approach — where you’d pick Default Lit, Clear Coat, or Subsurface and work within those limits — with a fully modular, physically-based system where you build the shading model yourself from first principles.
The core idea: real-world surfaces are not a single homogeneous thing. Car paint is clear lacquer on top of a pigment layer on top of a primer coat on top of bare metal. Human skin has pores, sebum and melanin at different depths. Substrate lets you author materials the same way — layer by layer, each preserving its own optical identity.
 Source: Epic Developer Community — Overview of Substrate Materials
The Slab: Substrate’s Building Block
Everything in Substrate starts with the Substrate Slab BSDF node.
BSDF stands for Bidirectional Scattering Distribution Function — the mathematical description of how light scatters when it hits a surface. In practice, a Slab represents one physical layer of matter: its interface (how light enters and exits) plus its medium (what happens to light travelling through it).
Key inputs on a Slab node:
| Input | What it controls |
|---|---|
| Diffuse Albedo | Base colour of the surface |
| F0 (Fresnel at 0°) | Reflectance when viewed head-on. Replaces the legacy Specular slider. |
| F90 | Reflectance at grazing angles. Defaults to white for smooth surfaces. |
| Roughness | Micro-surface roughness, same as before |
| Anisotropy | Directional highlight stretching (brushed metal, hair) |
| Coverage | Percentage of surface area this slab occupies |
| Mean Free Path (MFP) | How far light travels before being absorbed — drives colour tints in translucent layers |
| Thickness | Physical depth of the slab, affects transmittance for vertical layering |
The shift from Metallic + Specular to F0 via Index of Refraction (IOR) is the biggest conceptual change from legacy materials. The formula is simple:
F₀ = ((n₁ - n₂) / (n₁ + n₂))²For dielectrics (plastic, rubber, skin) IOR is typically between 1.3–1.6. For conductors (metals), F0 is set directly from measured spectral data. This grounds your materials in measurable physical reality rather than “what looks right.”
 Source: Substrate Material Nodes — Epic Developer Community
The Layering Operators
A single Slab describes one layer. Operators are how you combine slabs into complex surfaces.
Vertical Layer
The primary composition operator. It places one Slab on top of another — physically modelling what happens when, say, a clear coat sits above a metallic base:
- The Top slab’s thickness controls light absorption and refraction as it passes through
- The Bottom slab receives attenuated light, as it would in reality
- The result is physically correct multi-layer transmittance — not a lerp hack
This is the operator behind car paint, oiled leather, frosted glass and wet surfaces.
Horizontal Mix
Rather than stacking layers vertically, this blends two slabs side-by-side - think metallic flakes embedded in plastic, or grout between tiles. Two modes:
- Weighted - energy-conserving, physically plausible
- Add - non-energy-conserving, useful for emissive contributions
Coverage Masking
Each Slab has a Coverage parameter (0–1) representing the fraction of the surface it occupies. Values below 1 simulate microscopic holes or sparse distribution, enabling things like particle-dust layers that let the base coat show through.
 Source: Overview of Substrate Materials in Unreal Engine
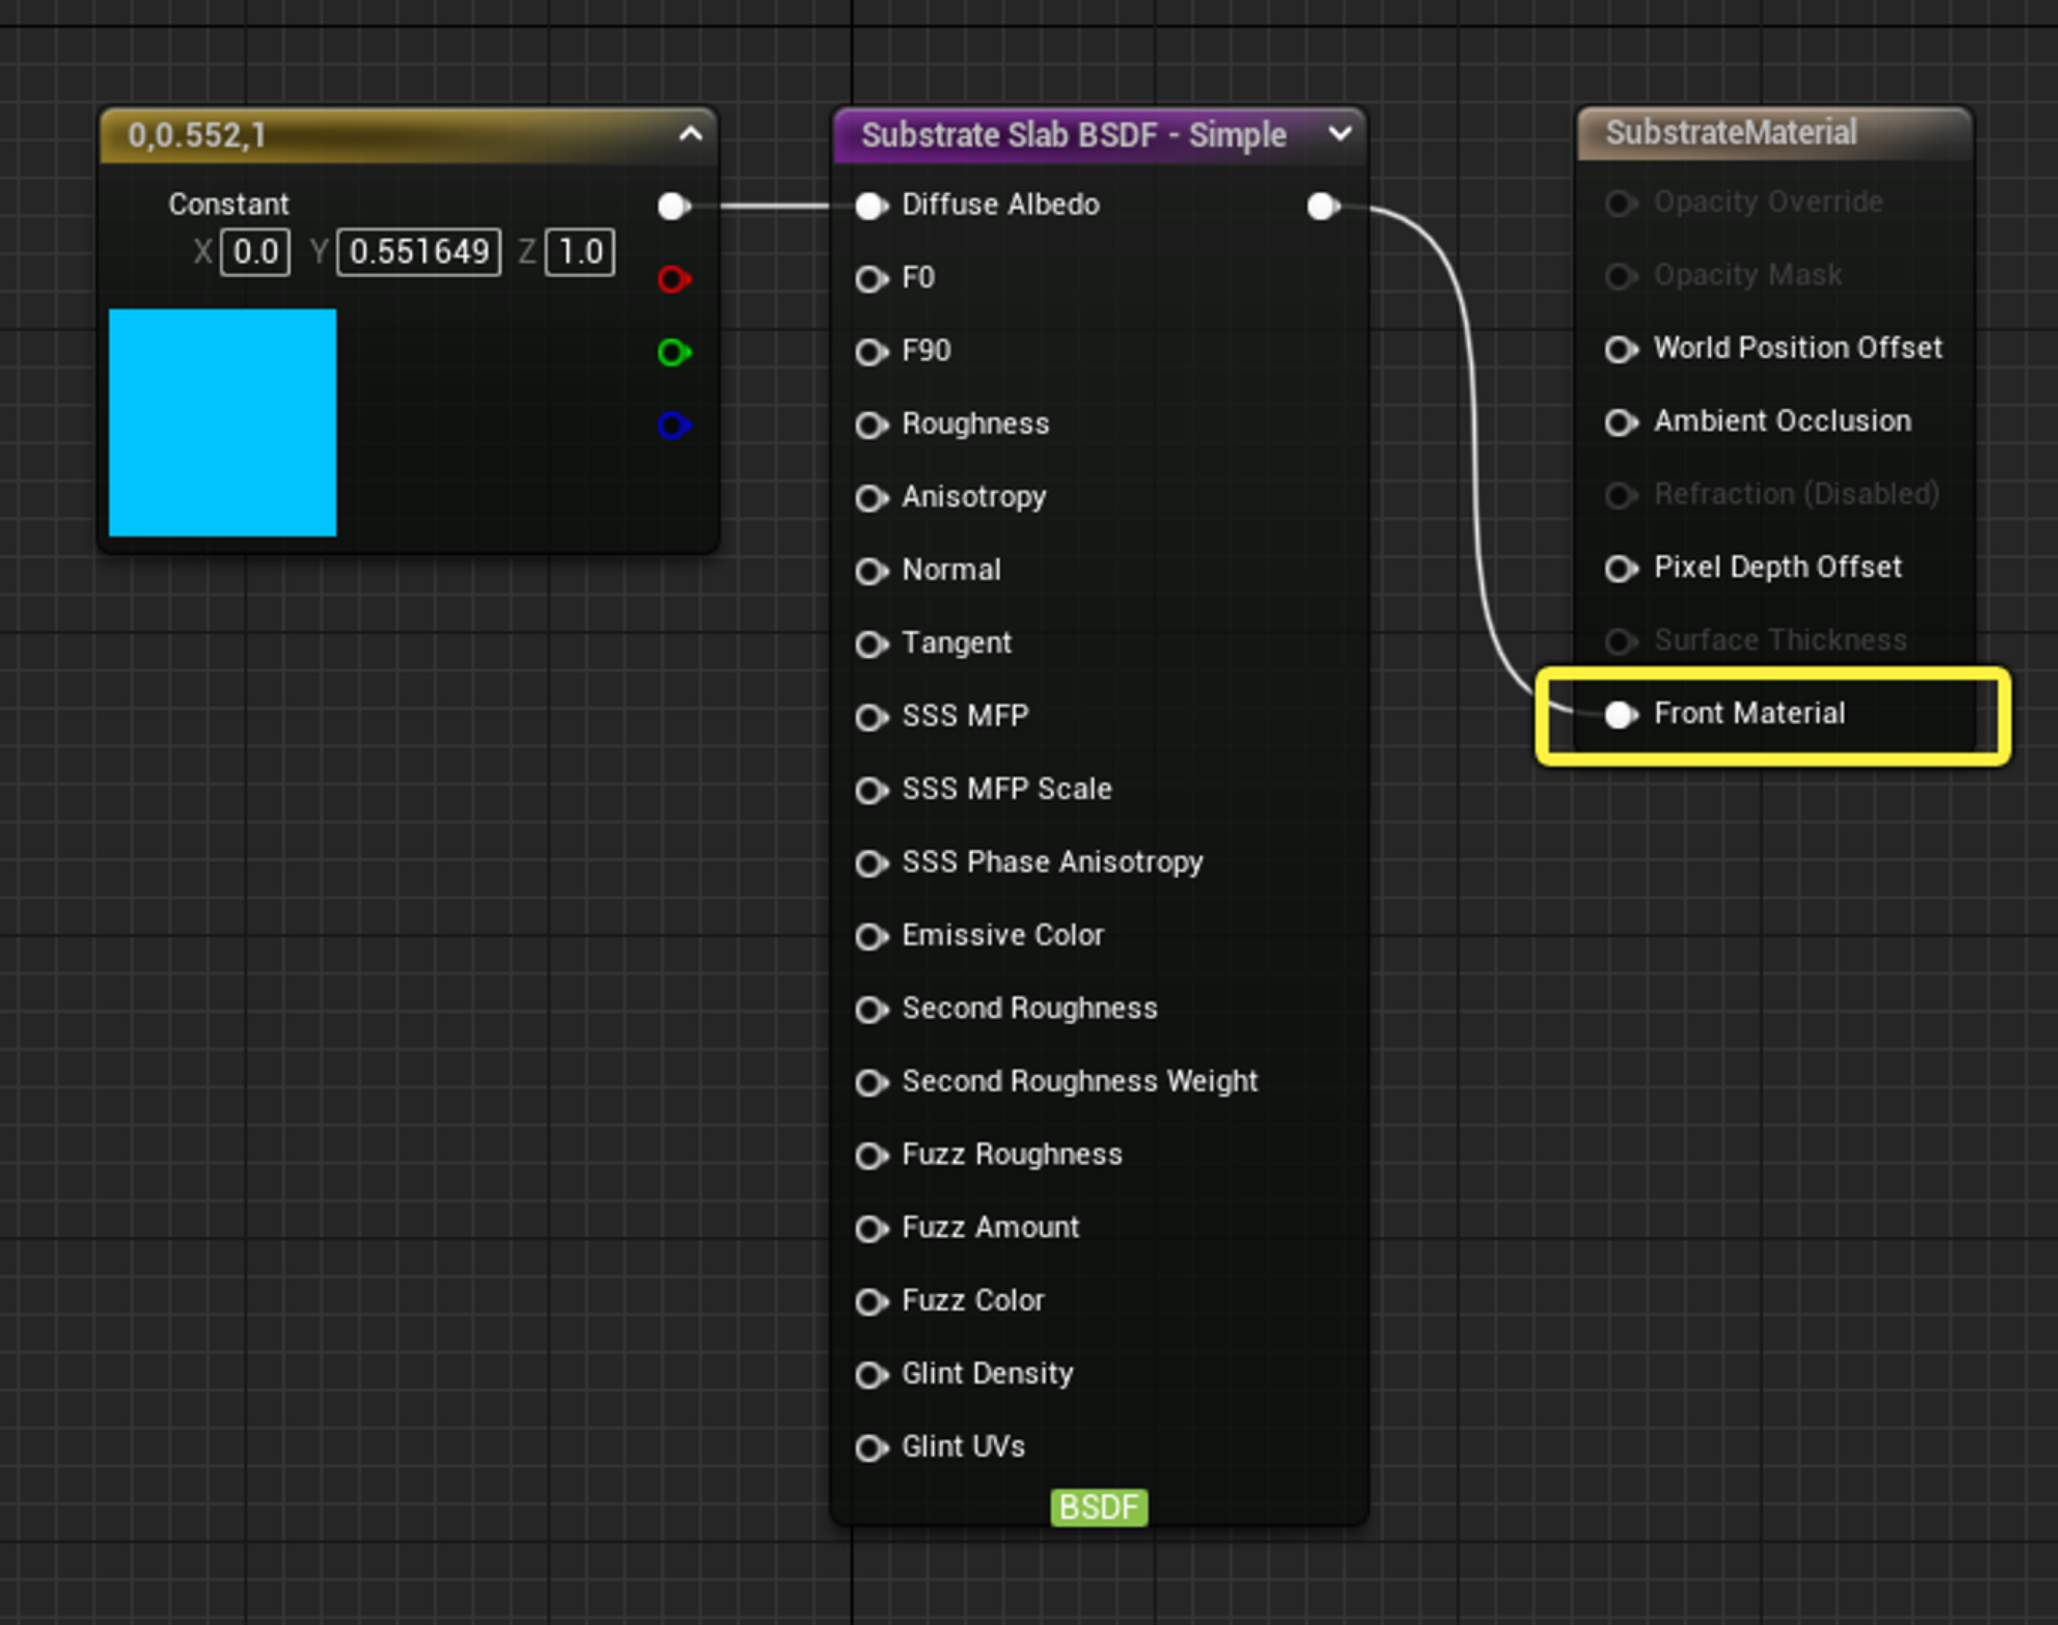
The New Material Output Node
The legacy M_Output node with its dozens of input pins is gone. Substrate replaces it with the Substrate Material Root - a clean node with a single Front Material input. Your entire material description flows through that one connection.
This isn’t just cosmetic. Because the material graph now carries structured physical data rather than raw scalar channels, the renderer can optimise memory layout, scheduling and GBuffer packing automatically.
Enabling Substrate & GBuffer Formats
In UE 5.7, Substrate is on by default for new projects. For existing projects, enable it in:
Edit → Project Settings → Rendering → Substrate
Two GBuffer formats are available:
| Format | Use case |
|---|---|
| Adaptive GBuffer | Full feature access, best visual quality. Recommended for high-end PC and console. |
| Blendable GBuffer | Broader compatibility, lighter memory footprint. Good for mixed-platform projects. |
Via DefaultEngine.ini:
r.Substrate=1
r.Substrate.GBufferFormat=1  ; 1 = Adaptive, 0 = Blendable
Substrate scales all the way to mobile, delivering consistent visual fidelity across all UE5 target platforms.
Substrate vs. Legacy: What Actually Changes
| Legacy Materials | Substrate | |
|---|---|---|
| Shading models | Fixed list (Default Lit, Clear Coat…) | Build your own from Slab BSDFs |
| Layering | Limited (Clear Coat hack) | True physical layering with transmittance |
| Output node | Many pin inputs | Single Front Material input |
| Specular control | Specular scalar (0–1) | F0 via IOR - physically grounded |
| Multi-layer surfaces | Node spaghetti workarounds | Native Vertical Layer operator |
| Performance cost | Predictable | Higher for complex layering; scales with slab count |
| Compatibility | All platforms | Full on PC/console; mobile subset supported |
The performance note is real - complex multi-slab materials cost more than their legacy equivalents. The guidance from Epic and the community is consistent: not every material needs Substrate. Simple static props are fine staying as legacy or single-Slab materials. Save the layering for hero assets that justify the budget.
Real-World Applications
To make it concrete, here’s what Substrate unlocks that was genuinely difficult before:
Automotive paint - Single-coat, dual-coat and triple-coat car paint with physically correct clear lacquer behaviour. Epic’s free Automotive Substrate Materials pack (280+ materials, free on Fab for UE 5.7.3+) is the fastest way to see this in practice.
Skin and organic surfaces - Blood and sweat on skin rendered as actual thin translucent layers, not texture overlays. Sebum, sub-dermal scattering and surface moisture all modelled separately.
Weathering and wear - Dust accumulation, scratches, mud and rust each authored as coverage-masked Slabs stacked on a clean base. Update a single Coverage parameter to art-direct aging and wear level without baking new textures.
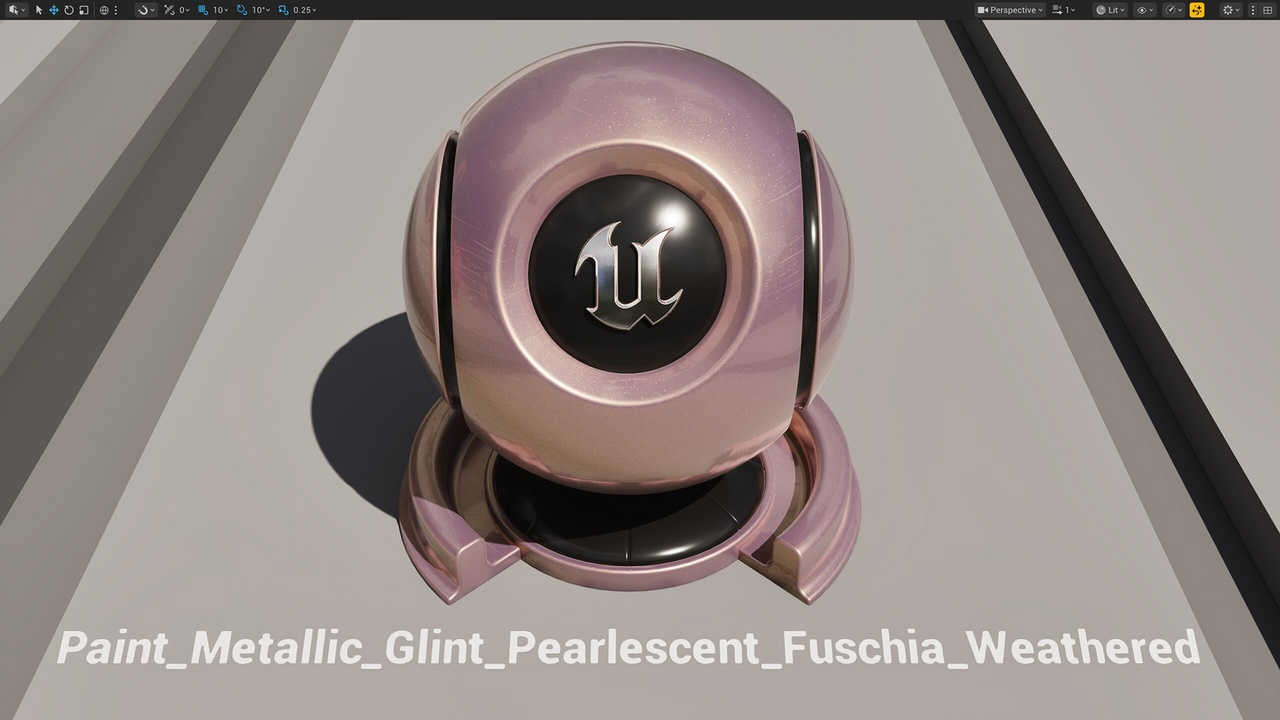
Glints and iridescence - Thin-film interference (the rainbow sheen on oil, soap, or beetle shells) and coloured glints (sparkle in metallic flakes) are first-class supported features. Previously these required custom shaders or were simply impossible without engine modifications.
 Source: Automotive Substrate Materials - Fab
Where We Stand at Lunar Lizard
We’ve been testing Substrate on character and environment hero assets since the 5.7 preview. The workflow shift is real - your first Substrate material graph will feel unfamiliar - but once the Slab → Operator mental model clicks, the payoff is significant.
The Vertical Layer operator alone replaced patterns that used to span 30+ nodes in our material graphs with 4–5 clean, readable connections. And the rendered output is noticeably more physically coherent, particularly at grazing angles where the old Specular hack would fall apart.
We’ll share specific material breakdowns from production in future posts. For now, if you’re a technical artist and haven’t started the Substrate migration yet, the official beginner’s guide is the right starting point.